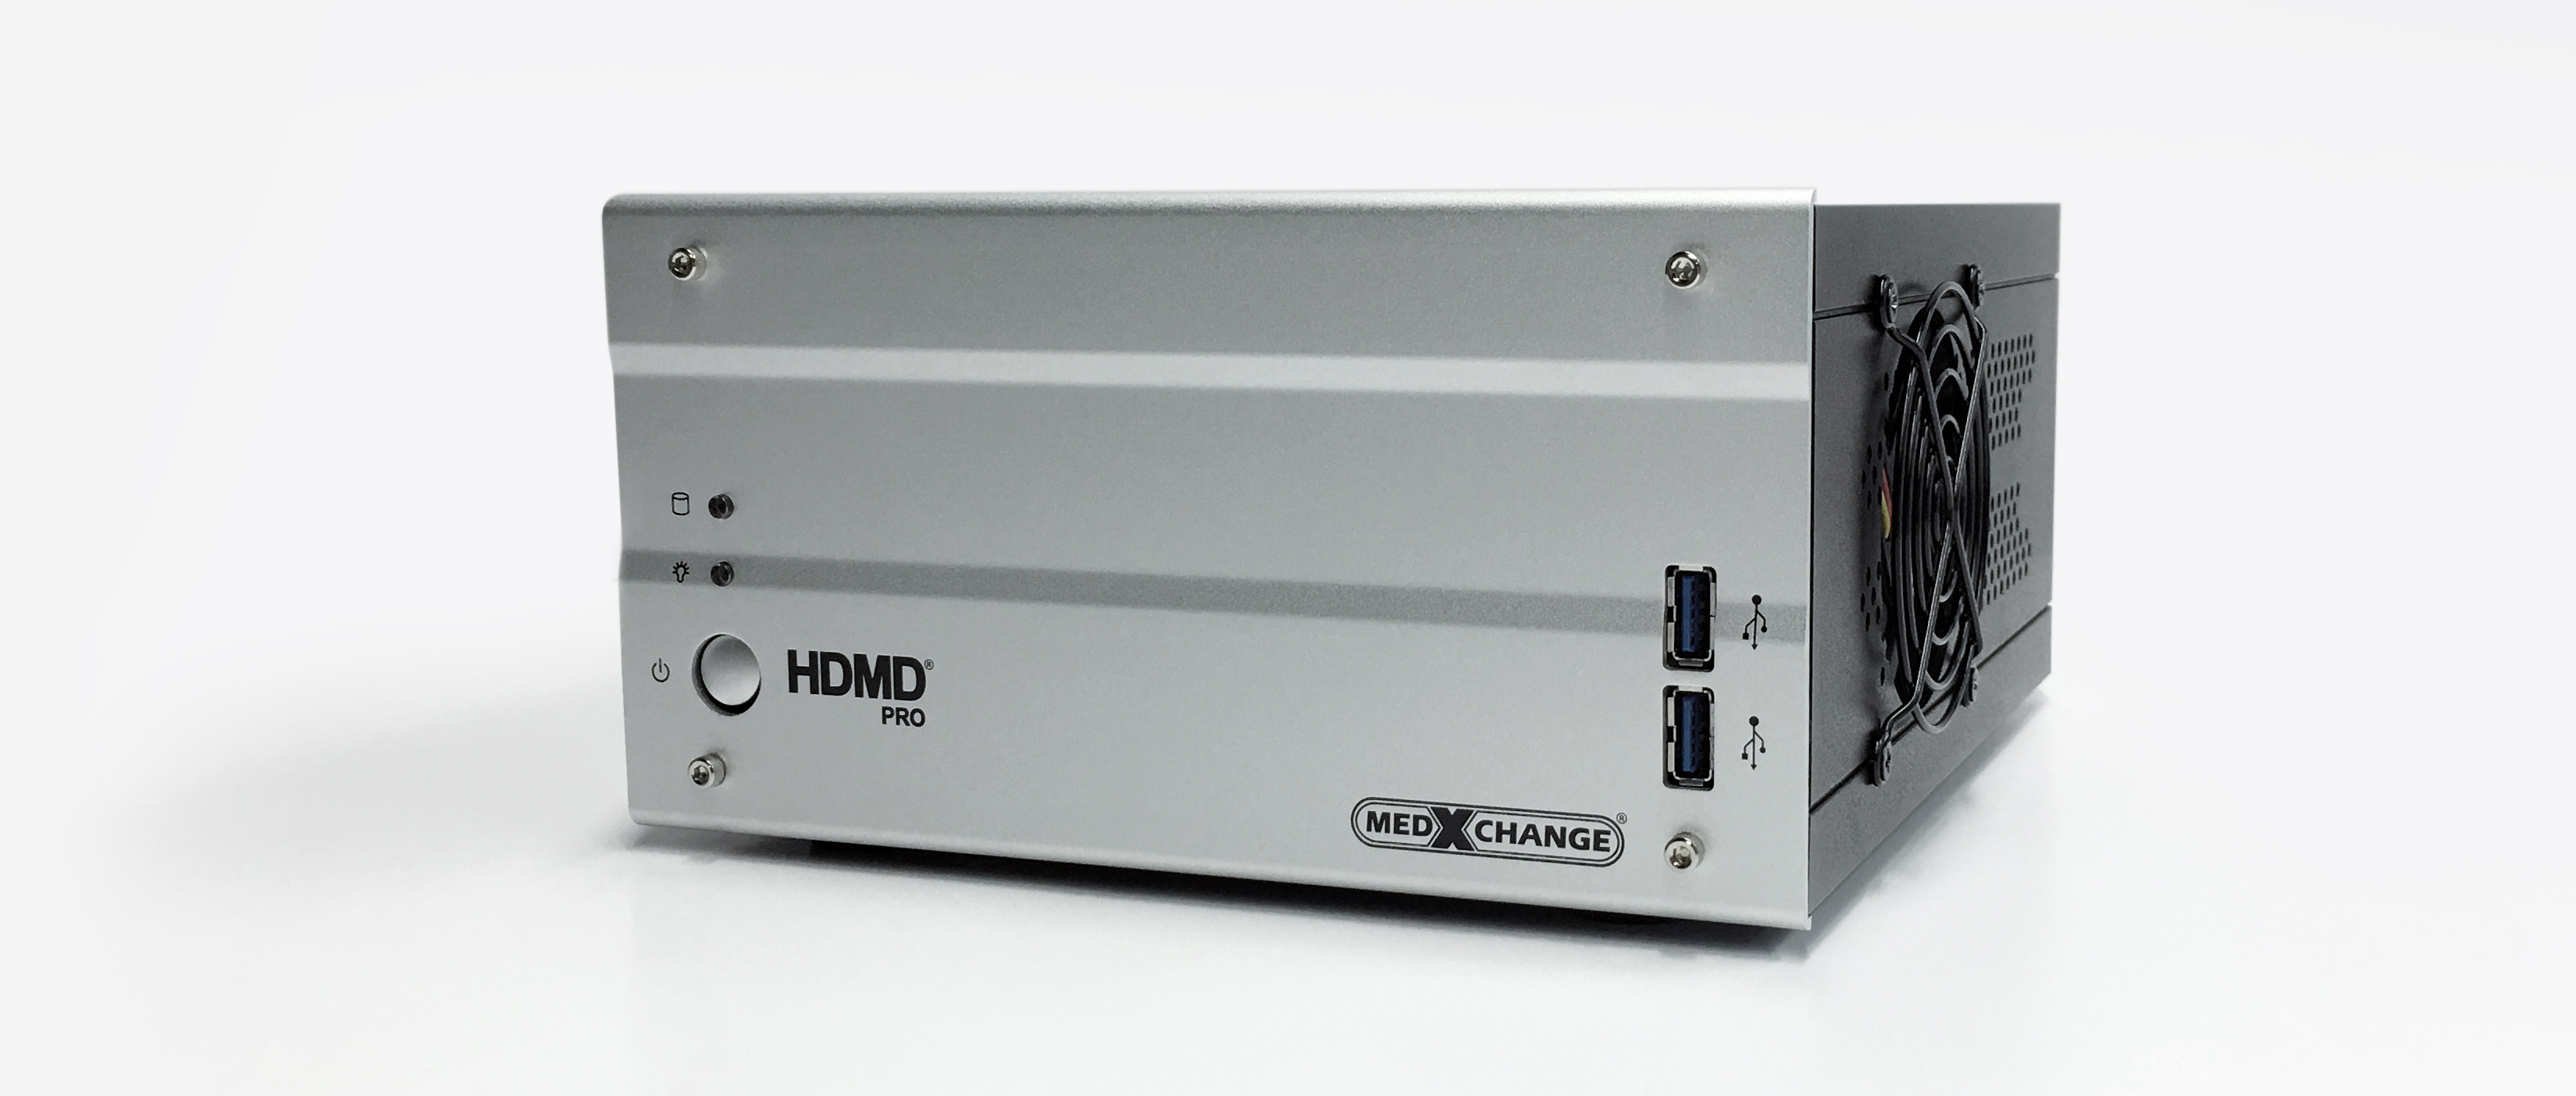
Med X Change® now offers video tutorials on our frequently asked support questions for our popular HD Medical Video Recorder, the HDMD PRO. You have the ability to view and download each tutorial by either clicking on the video thumbnail or clicking the “Download this Tutorial” button. You can also view our tutorials and surgical videos recorded on our devices on Youtube here. If your support questions have not been answered by the tutorials below you can contact Technical Support here.
Live Page
Live page is the default section the Software to appear when powered on. The User can enter optional patient information and start a case. Tap Recording and still capture to record videos and capture still images. The microscope pistol grips can also be programmed to do this. The user can enable and disable PIP and Side by Side view of live video and go full screen.
Fluorescence Page
When the user initiates Fluorescence recording, the Software switches to the Fluorescence Page and starts to record FL Loops. The page layout defaults to the users Fluorescence Configuration chosen on the Setup Page. The FL Loops can be played back and injected into the DIC/CaptiView.
Review Page (Print, Copy, Edit, Append, Delete)
When cases are closed, the user can see all cases stored on the internal 1TB hard drive. The user can: open cases, view cases (playback, slow motion, capture stills post case), delete cases, copy cases, upload to DICOM Storage, Append a case(which is to re-open a case), sort, search case information and edit patient information.
Review Page (Detailed Copy, Print)
When navigating through the Review Page when a case is open, the user can view images and videos, choose individual items to copy to external USB drive, iOS device or Network location (This can also be done automatically with the archive feature). The user can also choose images to print to a usb printer and configure the printed page. The print can also be saved as a pdf and copy to a usb location for paperless facilities.
Setup Page (General Tab)
Setup Page has all the settings for the HDMD PRO and users (physicians). The General Tab has a variety of system level settings including but not limited to Software updating, deleting cases and physicians, Auto-delete option, Wireless Configuration, Full Screen Controls. The user can also label the names of the camera, view network settings, set Regional settings such as languages, time/date and also view candor export a pdf of the User Manual.
Setup Page (Media Tab)
The Media Tab has settings related to the video and image settings/storage such as; Case Folder name, archive locations, still image and video quality settings. Also the user can make Dual recording default and scope info overlay.
Setup Page (Printing Tab)
The Printing Tab allows the user to setup all printing settings such as number of prints per page, logos, footers, headers, enhancement etc.
Setup Page (Work List Tab, DICOM Activation)
The Work List Tab has to do with the patient list when starting a new case. Local is a patient list stored on the HDMD PRO. MWL has to do with DICOM WorkList on a server within the facility network (as you see all the network parameters have to be entered by IT Staff). None eliminates the use of the WorkList page. Once activated as part of the DICOM Features the MWL can be accessed to connect to a relevant DICOM WorkList or EMR.
Setup Page (Work List Tab, Setup and Functionality)
The Work List Tab has to do with the patient list when starting a new case. Local is a patient list stored on the HDMD PRO. MWL has to do with DICOM WorkList on a server within the facility network (as you see all the network parameters have to be entered by IT Staff). None eliminates the use of the WorkList page. Once activated as part of the DICOM Features the MWL can be accessed to connect to a relevant DICOM WorkList or EMR.
Setup Page (DICOM Tab, Setup and Functionality)
The DICOM Tab is for setting up the HDMD PRO with PACS servers for sending images and/or video over the facility network to the PACS Server. DICOM is a format that is a standard for PACS.
Setup Page (Patient Fields Tab)
The Patient Fields Tab is for setting up fields to allow the user to enter patient information. This can be customized and re-ordered to the user preferences. They can also be setup to be required fields before a case starts.
Setup Page (Physician Tab)
The Physicians Tab is for setting up Physician’s usernames and passwords which correlate to individual preferences (media, printing, annotations, etc). These setting come into effect when the user choose a physician on the Work List Page when starting a case.
Setup Page (Procedures Tab)
The Procedures Tab allows the user to create list of relevant surgical procedures and then each Physician can have access to these procedures list to be chosen when starting a case.
Setup Page (Security Tab)
The Security Tab is for setting up unique Usernames and Passwords to access the HDMD PRO Software (optional security feature). These security credentials also are used for accessing the HDMD PRO via the free iOS/Android MedXStream Mobile App.
Setup Page (Fluorescence Tab, Layouts and Functionality)
The Fluorescence Tab is used to customize how the workflow functions when a user uses Fluorescence during surgery. The user can choose the layout which they prefer for: FL Recording, Loop Playback and Page View (static Fluorescence page when not recording or playing back loops). For example, PIP layout, Side by Side, Full Screen etc.
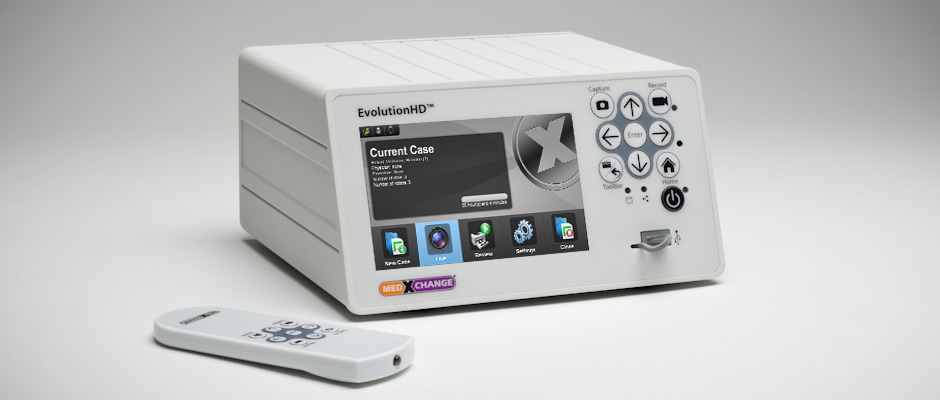
Med X Change® now offers video tutorials on our frequently asked support questions for our popular HD Medical Video Recorder, the EvolutionHD™. You have the ability to view and download each tutorial by either clicking on the video thumbnail or clicking the “Download this Tutorial” button. You can also view our tutorials and surgical videos recorded on our devices on Youtube here. If your support questions have not been answered by the tutorials below you can contact Technical Support here.
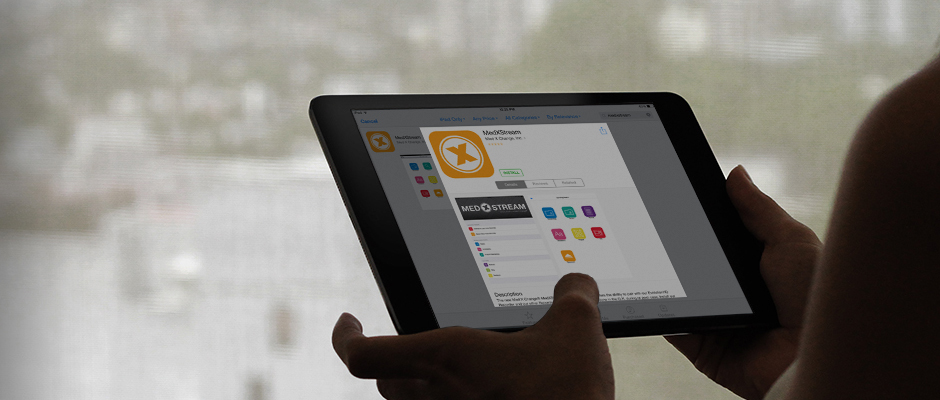
Med X Change® now offers video tutorials on our frequently asked support questions for our new iOS App, MedXStream™. You have the ability to view and download each tutorial by either clicking on the video thumbnail or clicking the “Download this Tutorial” button. You can also view our tutorials and surgical videos recorded on our devices on Youtube here. If your support questions have not been answered by the tutorials below you can contact Technical Support here.


 ©
©